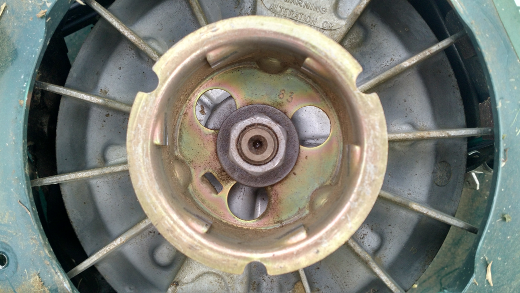
How to fix a lawnmower starter cord
Get up and running in under thirty-minutes (depending on your skill-level, of course)
Here is the scenario for those of us who still use a pull-start mower:
you pull on the starter cord and instead of the usual feeling of the recoil spring being fully unwound, the cord keeps coming towards you. This is the end-result:
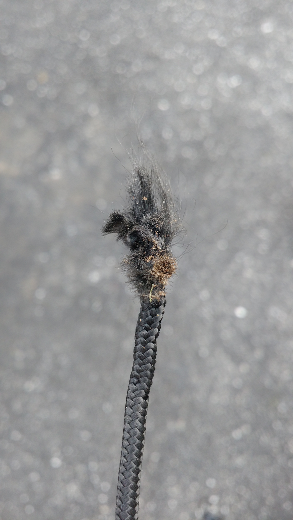
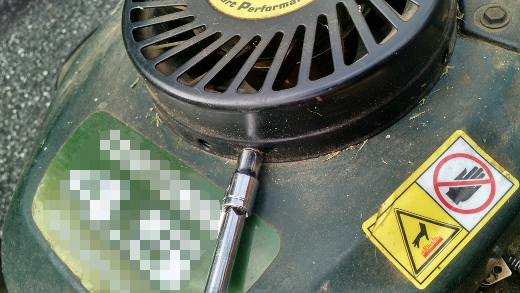
Fortunately, this is normally a quick repair and it starts with removing the recoil housing (also referred to as the recoil starter). Models vary, but most will have screws you need to remove:
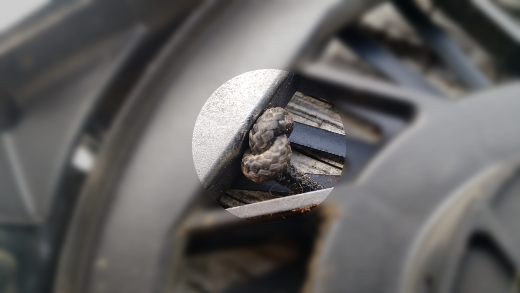
With the housing removed, check the underside for any remaining cord-parts. In my case, part-two of the bifurcated cord remained attached to the housing:
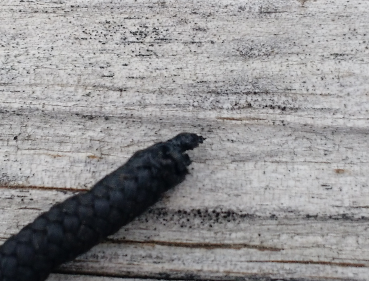
Next, trim the frayed-end and fuse it to prevent further fraying (and also to make it easier to fish the cord back through the housing).
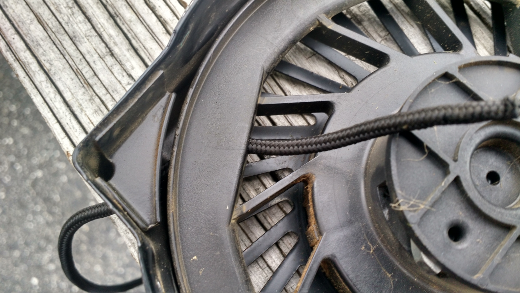
Next, fish the cord through the ouside of the housing and through an inner-hole attached to the pulley (again, models vary on this). Tie a simple overhand knot.
Lastly, rewind the starter pulley, re-attach the starter housing, and feed the starter cord through any existing holders (usually where the cord-handle rests).
This information is not needed for the repair, but is fun to know and explains how the process of pulling the starter cord actually starts the engine.
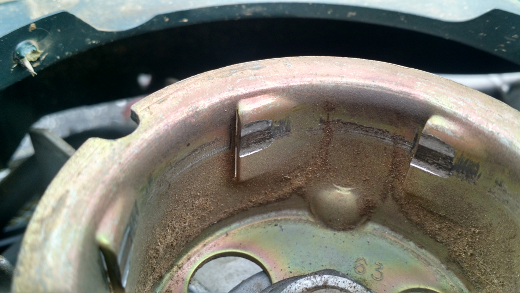
When you pull the starter cord, this turns the starter pulley and throws out pawls (via centrifugal force). The pawls are the two pieces seen appearing near the center of the animation.
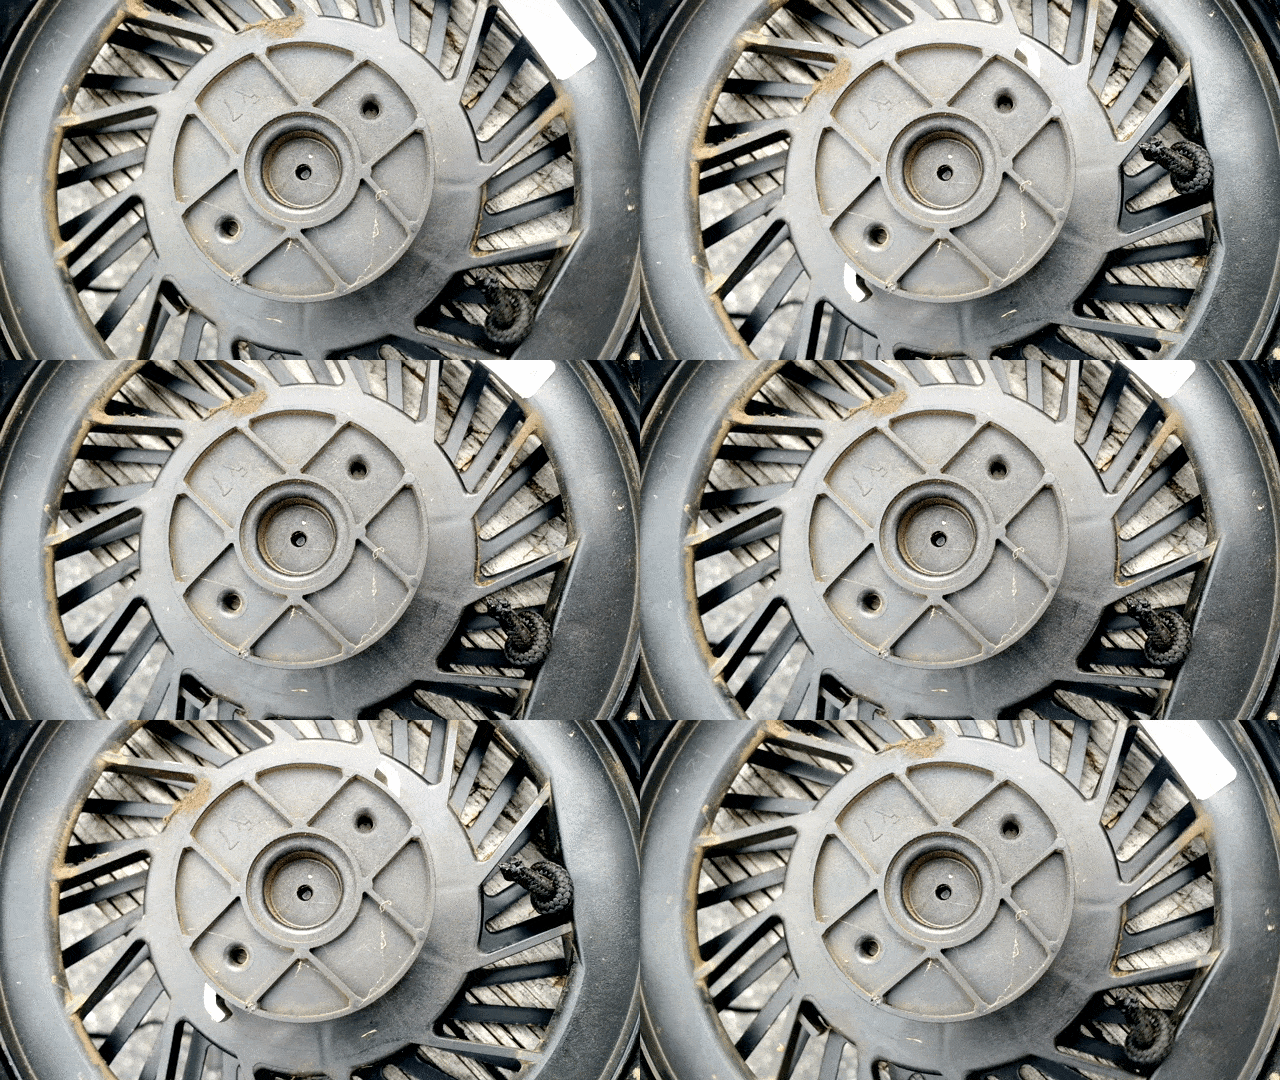
The pawls engage the ridges of the cup, which is connected to the flywheel. The latter is attached to the crankshaft, which turns from the combustion chamber pushing the connected piston down the cylinder head. This video does a really good job visualizing the process.
